


背景
家里有个闲置的电视盒子 X88 PRO 10 (RK3318 SOC,4G内存,128G闪存),长期不用后发现已经无法正常运行,经过反复检查发现是内置存储芯片eMMC损坏了(这个貌似是一个通病,下文中的博主也有提到)。就在快要被扔进垃圾桶时,突然发现了ARMBIAN系统,有针对RK3318/3328的社区支持版本,另外一个前提条件是这款盒子支持从TF卡启动。
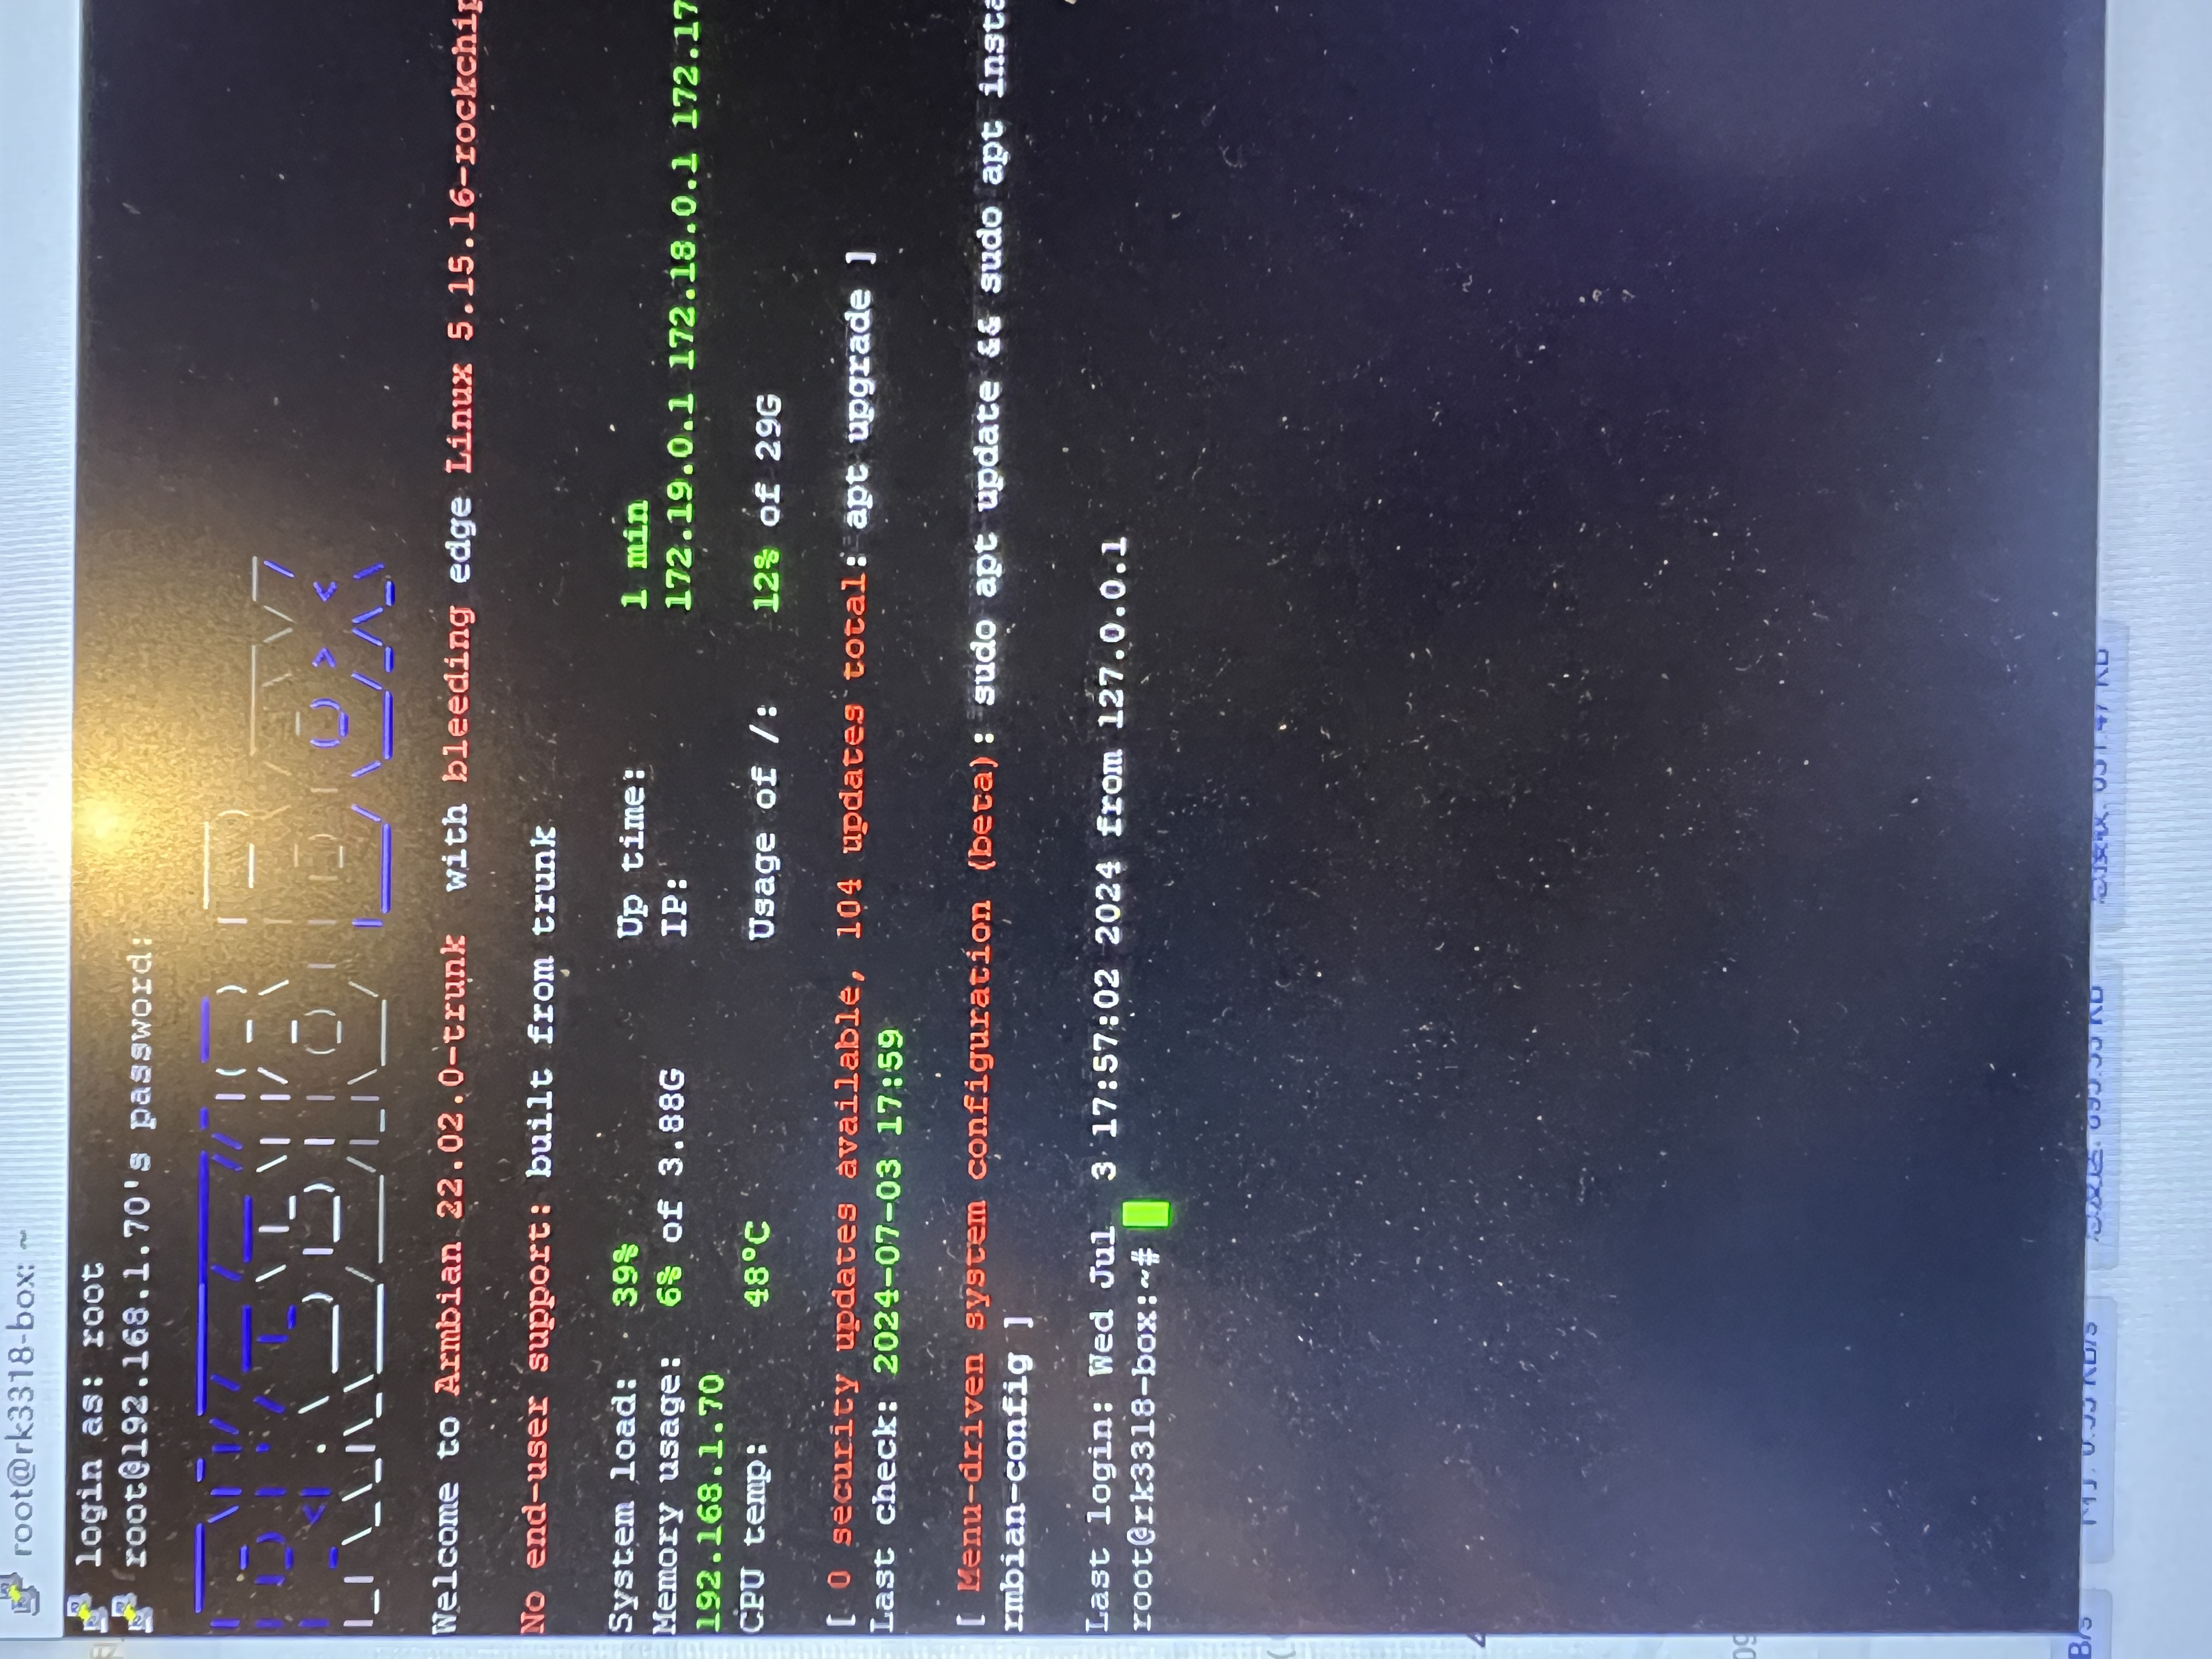
果断刷入ARMBIAN系统后一切正常,有线无线网口都可以正常工作,关键这个盒子还异常省电,待机功耗只有2瓦。
目前使用的版本: Armbian_23.08.0-trunk_Rk3318-box_bookworm_edge_6.3.13_minimal.img
支持Docker,装上1Panel,一台Linux轻主机就上线了!
可玩性极强,目前想到的有:
NAS (话说家里已经有白裙辉了,没必要再搞个黑的)
软路由(身在墙外,意义不大)
数据库
媒体服务器(Jerryfin)
WEB服务器(本博客的搭建就是用这个电视盒子做测试的)
DDNS客户端
CodeServer
Home Assistance
参考资料
CSC Armbian for RK3318/RK3328 TV box boards - Rockchip CPU Boxes - Armbian Community Forums
TV-box mania: I part. X88 PRO 10 (RK3318) (hyperhdr.eu)
步骤
Please don't ask about support or assistance in other non-community forums nor in the official Armbian github repository, instead post your questions in this thread, in the TV Boxes forum section (hardware related) or in the Peer-to-peer support section (general linux/software related).
Thank you!
This thread is to give stable and mature long-term range support to rk3318/rk3328 found in many tv boxes in Armbian project as Community Supported Configuration (CSC).
The current work is mainlined into Armbian project, but your mileage may vary; most recent developments live on my personal fork on github -> here <-
Important notes: is just a personal opinion, but apparently widely supported, that rk3318 chip is not an official rockchip part. They probably are scrap rk3328 parts which have not passed conformance tests but are sold anyway to tv boxes manufacturers. They don’t reach the same operating frequency of the rk3328, have much higher leakage currents (and thus higher temperatures) and often the boards they are installed on are low quality with low quality components, in fact a very very common issue is the eMMC failure due to bad parts and bad soldering. So said, I personally suggest not to buy any rk3318 tv box, but instead find a properly supported SBC (Single Board Computer) if you need a reliable product. In the unfortunate case you already have such product, this thread may help you have some fun with them.
What works:
• Works on RK3318 and RK3328 TV boxes with DDR3 memories
• Mainline u-boot
• Mainline ATF provided as Trusted Execution Environment
• All 4 cores are working
• Ethernet
• Serial UART (configured at stock 1.5Mbps)
• Thermals and frequency scaling
• OTG USB 2.0 port (also as boot device!)
• EHCI/OHCI USB 2.0 ports and XHCI USB 3.0 ports
• MMC subsystem (including , SD and sdio devices)
• Hardware video acceleration (fully supported via RKMPP on legacy kernel, support via hantro and rkvdec kernel driver on mainline)
• Various WIFI over SDIO are supported
• Full acceleration on legacy kernel and mainline kernel
• U-boot boot order priority: first the sdcard, then the USB OTG port and eventually the internal ; you can install u-boot (and the whole system) in the internal and u-boot will always check for images on external sdcard/USB first.
Unbrick:
Technically, rockchip devices cannot be bricked. If the internal flash does not contain a bootable system, they will always boot from the sdcard. If, for a reason, the bootable system on the internal flash is corrupted or is unable to boot correctly, you can always force the maskrom mode shorting the clock pin on the PCB. The procedure is explained here for rk322x, but for rk3318/28 is the same.
In most of the rk3318/28 boards, shorting the clock pin is difficult or impossible because eMMC are BGA chips with no exposed pins. Pay double attention when burning something on the internal flash memory and always test first the image booting from the sdcard to be sure it works before burning anything in internal flash.
This is a list of posts where forum users have been able to spot the eMMC clock pin to trigger the maskrom mode:
X88 PRO 10 (board signature: X88_PRO_B) by @mathgaming
Partecipation and debugging:
If you want to partecipate or need help debugging issues, do not hesitate to share your experience with the installation procedure of the boxes.
In case of issues and missed support, provide as many as possible of these things is very useful to try and bring support for an unsupported board:
some photos of both sides of the board. Details of the eMMC, DDR and Wifi chips are very useful!
upload the device tree binary (dtb) of your device. We can understand a lot of things of the hardware from that small piece of data; and alternative is a link to the original firmware (you can do a full backup with the Multitool);
dmesg and other logs (use armbianmonitor -u that automatically collects and uploads the logs online)
attach a serial converter to the device and provide the output of the serial port;
Multimedia:
Mainline kernel: 3D acceleration is provided by Lima driver and is already enabled. Hardware video decoding: https://forum.armbian.com/topic/19258-testing-hardware-video-decoding-rockchip-allwinner/
Legacy kernel: If you need multimedia features, like OpenGL/OpenGL ES acceleration, hardware accelerated Kodi, ffmpeg and mpv you can take a look to this post
Installation (via SD card):
Building:
You can build your own image follow the common steps to build armbian for other tv boxes devices: when you are in the moment to choose the target board, switch to /TVB/ boards and select "rk3318-box" from the list.
Prebuilt images:
Archived images - built by Armbian servers and GPG-signed: https://imola.armbian.com/dl/rk3318-box/archive/
Nightly stables - built from trunk by Armbian servers and GPG-signed: https://github.com/armbian/community
Stables provided by me (unsigned): https://users.armbian.com/jock/rk3318/
Multitool:
Multitool - A small but powerful image for RK3318/RK3328 TV Box maintenance. Download it from here
Quick installation instructions on eMMC:
Build or download your preferred Armbian image and a copy of the Multitool;
Burn the Multitool on an SD card; once done, place the Armbian image in images folder of the SD card NTFS partition;
Plug the SD card in the TV box and plug in the power cord. After some seconds the blue led starts blinking and the Multitool appears;
OPTIONAL: you can do a backup of the existing firmware with "Backup flash" menu option;
Choose "Burn image to flash" from the menu, then select the destination device (usually mmcblk2) and the image to burn;
Wait for the process to complete, then choose "Shutdown" from main menu;
Unplug the power cord and the SD card, then replug the power cord;
Wait for 10 seconds, then the led should start blinking and HDMI will turn on. The first time the boot process will take a couple of minutes or more because the filesystem is going to be resized, so be patient and wait for the login prompt.
On first boot you will be asked for entering a password for root user of your choice and the name and password for a regular user
Run rk3318-config to configure the board specific options
Run armbian-config to configure timezone, locales and other personal options
Congratulations, Armbian is now installed!
Despite the procedure above is simple and reliable, I always recommend to first test that your device boots Armbian images from SD Card.
Due to the really large hardware variety, there is the rare chance that the images proposed here may not boot. If a bad image is burned in , the box may not boot anymore forcing you to follow the unbrick section at the top of this post.
Quick installation instructions to boot from SD Card:
If you are already running Armbian from eMMC, skip to the next step. Instead if you are running the original firmware you need to first erase the internal flash; to do so download the Multitool, burn it on an SD Card, plug the SD Card and power the TV Box. Use "Backup flash" if you want to do a backup of the existing firmware, then choose "Erase flash" menu option.
Build or download your preferred Armbian image;
Uncompress and burn the Armbian image on the SD Card;
Plug the SD Card in the TV Box and power it on;
Wait for 10 seconds, then the led should start blinking and HDMI will turn on. The first time the boot process will take a couple of minutes or more because the filesystem is going to be resized, so be patient and wait for the login prompt;
On first boot you will be asked for entering a password for root user of your choice and the name and password for a regular user
Run rk3318-config to configure the board specific options
Run armbian-config to configure timezone, locales and other personal options, or also to transfer the SD Card installation to internal ;
Congratulations, Armbian is running from SD Card!
Tutorial - How to install Armbian on your TV Box (by @awawa) :
A note about boot device order:
With Armbian also comes mainline U-boot. If you install Armbian, the bootloader will look for valid bootable images in this order:
External SD Card
External USB Stick in OTG Port
Internal
The Multitool does not boot / How to burn image directly on eMMC:
Some boards have the sdcard attached to an auxiliary (called also sdmmc_ext or external) controller which is not the common one.
Forum findings declare that those boards are not able to boot from sdcard with stock firmware and they neither do in maskrom mode: the stock firmware always boots even if you put the multitool on sdcard.
In such case, burning images directly on eMMC is the only way to have a working Armbian installation.
You can follow these instructions by @fabiobassa to burn images directly on eMMC:
Notes and special hardware:
Script to change DDR memory frequency here
Wireless chip AP2734, SP2734, HY2734C and similars: they are clones of AmPAK AP6334 which is combo wifi + bluetooth of broadcom BCM4334/B0 chips. You may need a special nvram file, instructions by @paradigman are here
Critics, suggestions and contributions are welcome!
Credits:
@fabiobassa for his ideas, inspiration, great generosity in giving the boards for development and testing. The project of bringing rk3318 into armbian would not have begun without his support!
@hexdump for his precious support in early testing, ideas and suggestions
@MX10.AC2Nfor his patience in testing mxq-rk3328-d4 board support
All the rockhip64 maintainers at Armbian project who have done and do most of the work to support the platform
评论区